Introduction
Multi-user computing with AI
Multi-user computing with AI
cuabot gives any coding agent a seamless sandbox for computer-use. Windows stream to your desktop with clipboard sharing and audio, isolated from your system.
Quick Start
# Start onboarding
npx cuabot

# Run your agent in the sandbox
cuabot claude
cuabot vibe
cuabot codex
Requirements:
Usage
cuabot                     # Run default agent (or setup if not configured)
cuabot <agent>             # Run a specific agent
cuabot <command>           # Run any command in the sandbox
Agents
Run any agent CLI in the sandboxed container:
cuabot claude              # Claude Code (Anthropic)
cuabot gemini              # Gemini CLI (Google)
cuabot codex               # Codex CLI (OpenAI)
cuabot aider               # Aider
cuabot openclaw            # OpenClaw
cuabot vibe                # Vibe (Mistral)
Agents are lazily installed on first use.
Sandboxed Apps
Safely run scripts or GUI apps in the sandbox:
cuabot chromium      # Open chromium window
cuabot xterm         # Open terminal window
cuabot bash          # Interactive bash
Terminal sessions and GUI applications are seamlessly streamed to your terminal or as a native desktop window.
Named Sessions
Run multiple isolated sandboxes simultaneously:
cuabot -n work claude      # Run Claude in a session named "work"
cuabot -n personal claude  # Run Claude in a separate session named "personal"
cuabot --name dev bash     # Interactive bash in session "dev"
Each named session gets its own container, port, and window border color. Session files are stored as server.<name>.pid and server.<name>.port.
Commands
# Options (can be combined with any command)
-n, --name <name> # Use a named session
# Control cuabotd
cuabot --serve [port] # Start cuabotd (auto-finds port)
cuabot --stop # Stop cuabotd
cuabot --status # Server status
# Control sandbox
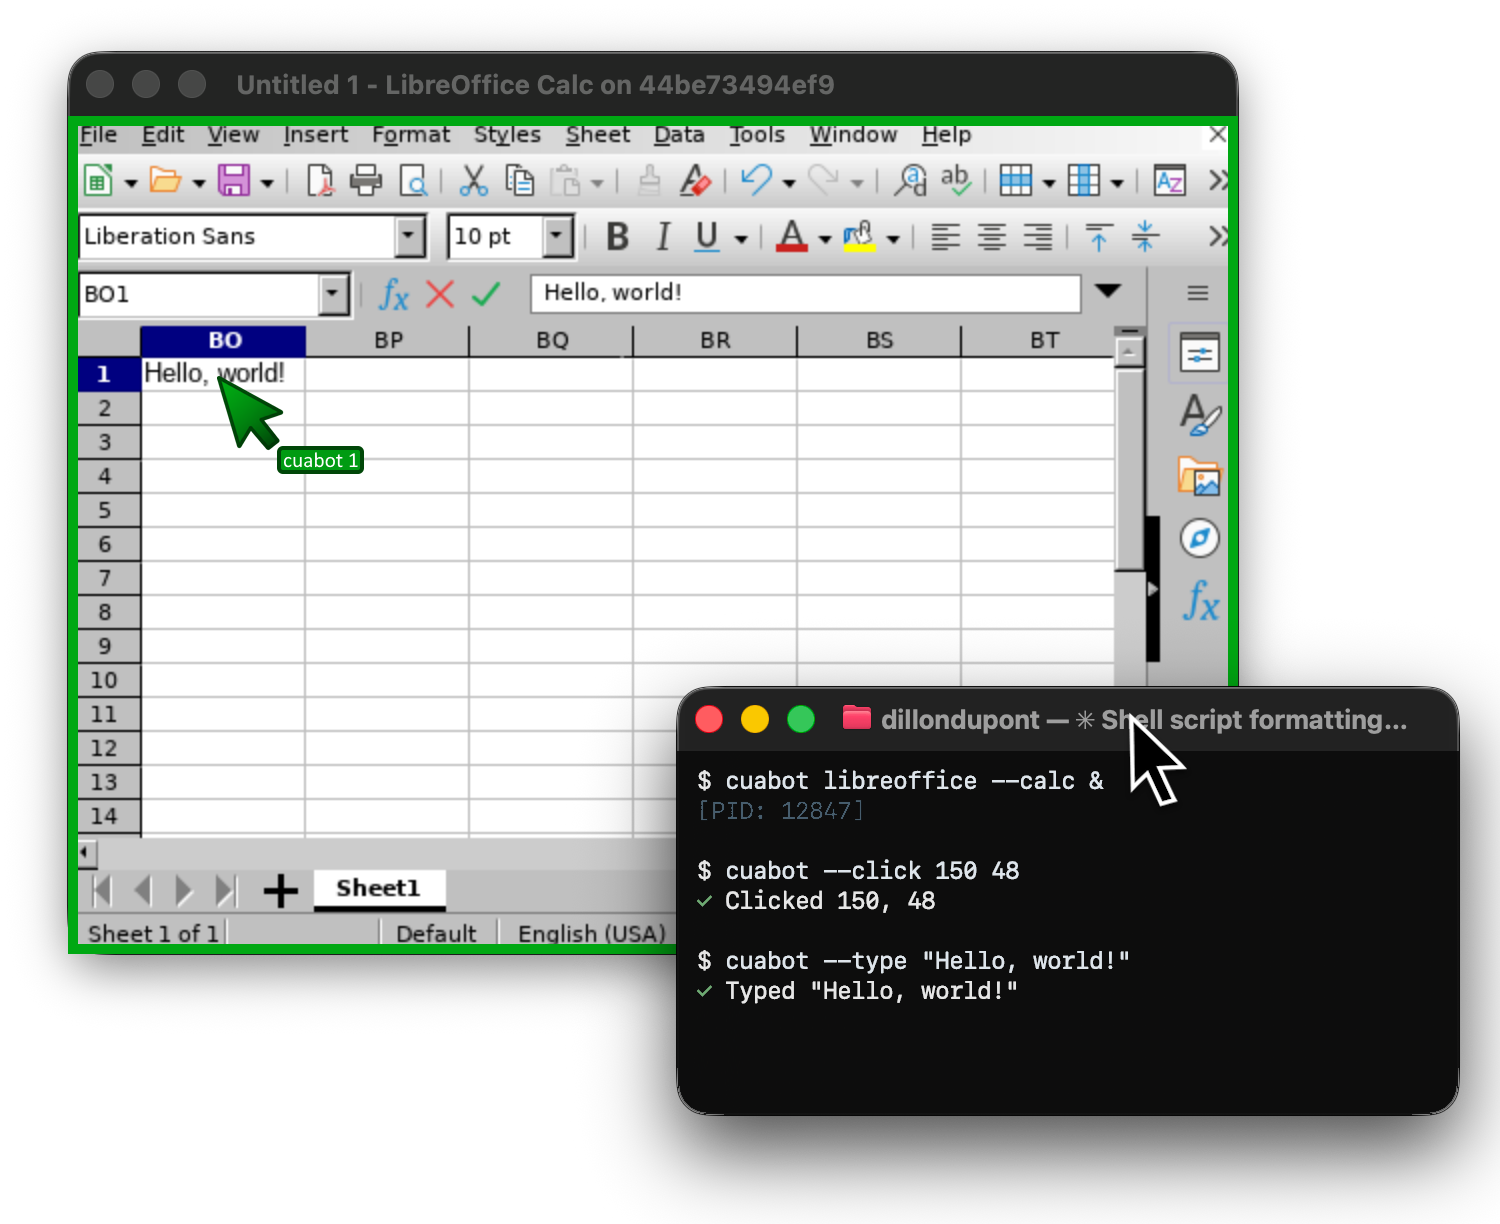
cuabot --screenshot [path] # Take screenshot
cuabot --bash <command> # Execute bash command
cuabot --click <x> <y> [button] # Click at coordinates
cuabot --doubleclick <x> <y> # Double-click
cuabot --move <x> <y> # Move mouse
cuabot --mousedown <x> <y> # Press mouse button
cuabot --mouseup <x> <y> # Release mouse button
cuabot --drag <x1> <y1> <x2> <y2> # Drag
cuabot --scroll <x> <y> <dx> <dy> # Scroll
cuabot --type <text> # Type text
cuabot --key <key> # Press key
cuabot --keydown <key> # Key down
cuabot --keyup <key> # Key up
cuabot --help # Show helpHow It Works
Cua-Bot runs a Docker container with Xpra, streaming individual application windows to your desktop. Your chosen agent runs inside the container with:
- Full Ubuntu 22.04 environment
- Pre-installed: Node.js, Python, browsers, dev tools
- Computer-use MCP server for screenshot/click/type actions
- Isolated from your host system
Configuration
Config files are stored in ~/.cuabot/:
settings.json- Default agent and preferencesserver.pid/server.<name>.pid- Server process IDserver.port/server.<name>.port- Server port numberuser/- Persistent config for agent CLIs
Development
pnpm dev      # Run with file watching
pnpm build    # Build TypeScript
License
MIT
Was this page helpful?